
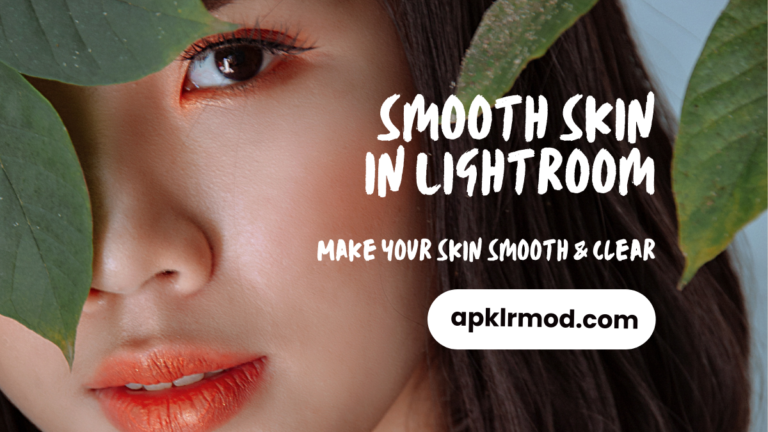
Tips and Tricks to Make Smooth Skin in Lightroom [2024]
Tips and Tricks to Make Smooth Skin in Lightroom
To create smooth skin in Lightroom, we need a combination of different tools and techniques that help with different features. If you can use these tools, you can easily create smooth skin in Lightroom. After completing all the features, you will notice that your photo has changed to another look that is mind-blowing and impressive. So now we are going to discuss the different tools and features that are mostly used in this process.
Important features and tools are given below after learning these you will be a master in the editing process of smooth skin in Adobe Lightroom.
Lightroom Tools For Smooth Skin
Here are the following few easy and understandable tools for the smooth skin process within Adobe Lightroom;
1: Major Healing brushes
These brushes are used to remove spots, blemishes, and imperfections. These tools are mostly used to adjust area and size. This is a necessary tool. Without it, we cannot complete our editing tasks.
2: Clone Tools
This is the second important tool when we use a healing tool. After it, some spots remain, and to complete removing spots, we use this clone tool. This will clear all spots. This tool makes it more accurate to area and size for good image adjustment.
3: A masking tool
Now we are entering an important feature or process in this tool. We will select or choose the skin area that we are going to edit. I want to tell you every tool plays an important role. In this tool, we will separate the part of the face which we want to smooth.
4: Clarity Tool
You know clarity is an important process in editing. If images are not properly clear then nothing beneficial to edit these images. So before the start of editing, we want to check the clarity of the images. Reduce the clarity slider slightly from -10 to -30 to maintain clarity and make skin textures soften. In maintaining the range of clarity you will be cautious because if the range is proper editing and picture will be amazing and attractive so try to maintain the clarity range in a good position.
Smooth skin setting
Follow the given instructions to use the settings of smooth skin in Lightroom Mod;
1: Clarity
First of all, maintain clarity in the proper range of -10 to -30. In this position, we can make sure that clarity is in the correct condition. Here we have also explained about the clarity tool above this Paragraph. This is the setting of Lightroom Smooth Skin in Lightroom feature where you can make your image clear and detailed. Use this tool wisely because the excessive use of this tool may disturb the original quality of your images.
2: Texture
Lower the slider of texture in the range of -10 to -25, this is the range of texture. After maintaining the clarity now it becomes necessary that you must control the position or range of texture. So -10 to -25 is the texture range in a smooth skin in Lightroom process.
3: Sharpness
You should maintain the slider of sharpness in a given range of about -10 to -15. This is the third main feature of this process. Every tool has its property if we cannot manage these in a good position then we are not a good editor. A professional photographer can set these settings in some quick clicks in a few seconds. Some areas like hair, eyes, and lips are painted over the skin areas carefully.
How to use smooth skin in Lightroom?
How to Edit Images in Smooth Skin in Lightroom?
Smooth skin in Lightroom mobile
You can smooth skin in Lightroom on Mobile phones by using profile abode color, masking, and selecting the color changes to maintain these all settings.
Here are some key features of Smooth Skin in Lightroom;
1: Enhance skin tones
This features discoloration and provides a more consistent and natural look to images. This tool is used to maintain natural textures and give a fantastic background. You can adjust the background as well as the skin tones of your images. It helps you to remove the unwanted objects from the images to make it clear and detail.
2: Non-destructive editing
This is so amazing and mind-blowing feature With the help of this feature you can revert your original image as you want at any time that’s an attractive and impressive tool. The presence of this tool makes sure that you can revert your old images at any time there is no risk of wasting your memories in the form of pictures due to this tool.
Major advantages of using Smooth Skin
Here are the Key advantages of Smooth Skin that may helpful for you to edit images;
1: Give a natural look
When we edit smooth skin in Lightroom then our pictures give a natural look and fabulous view. It removes the spots and imperfections to make an image more impressive and you can add a fabulous background to your image. This maintains the natural look of your images.
2: Effective
Applying this tool on smooth skin makes the image so impressive and it streamlines the editing process and saves time as compared to retouching. This feature has amazing properties that may change the colors and background of your images to make it perfect.
3: Containing AI-powered
Wow, that’s an awesome feature because, in the age of social media, AI plays so impressive role in every process of editing. In this process, Ai detects the curves. With the help of AI you can add or remove the features you want and you can also reverse your old pictures in old form this is so hilarious tool.
Conclusion
Smooth skin in Lightroom gives highly effective results and combines to advance a system. You can edit natural-looking photos in a few seconds with a few clicks. The best thing about the Smooth Skin feature is that it is available to all devices whether you are using it on Mobile devices or desktop/Windows. The best Part of Smooth Skin we conclude is that users can save time and effort using its different tools. You can get high-quality and clear images in no time. The other thing you should care about is that you should use every Smooth Skin tool carefully because the excessive use of tools can disturb the quality of images.